> ## Documentation Index
> Fetch the complete documentation index at: https://docs.gameball.co/llms.txt
> Use this file to discover all available pages before exploring further.
# How Do I Integrate HubSpot with Gameball?
> Keep your customers in sync across Gameball and HubSpot, and target them based on your loyalty data, like current tier and points balance.
## Why Integrate HubSpot with Gameball?
This integration allows you to target and segment your customers based on how loyal they are to your app. With this integration, you can:
* **Check Gameball custom attributes** on HubSpot.
* **Trigger workflows** based on Gameball customer attributes.
***
## How to Configure HubSpot on Gameball
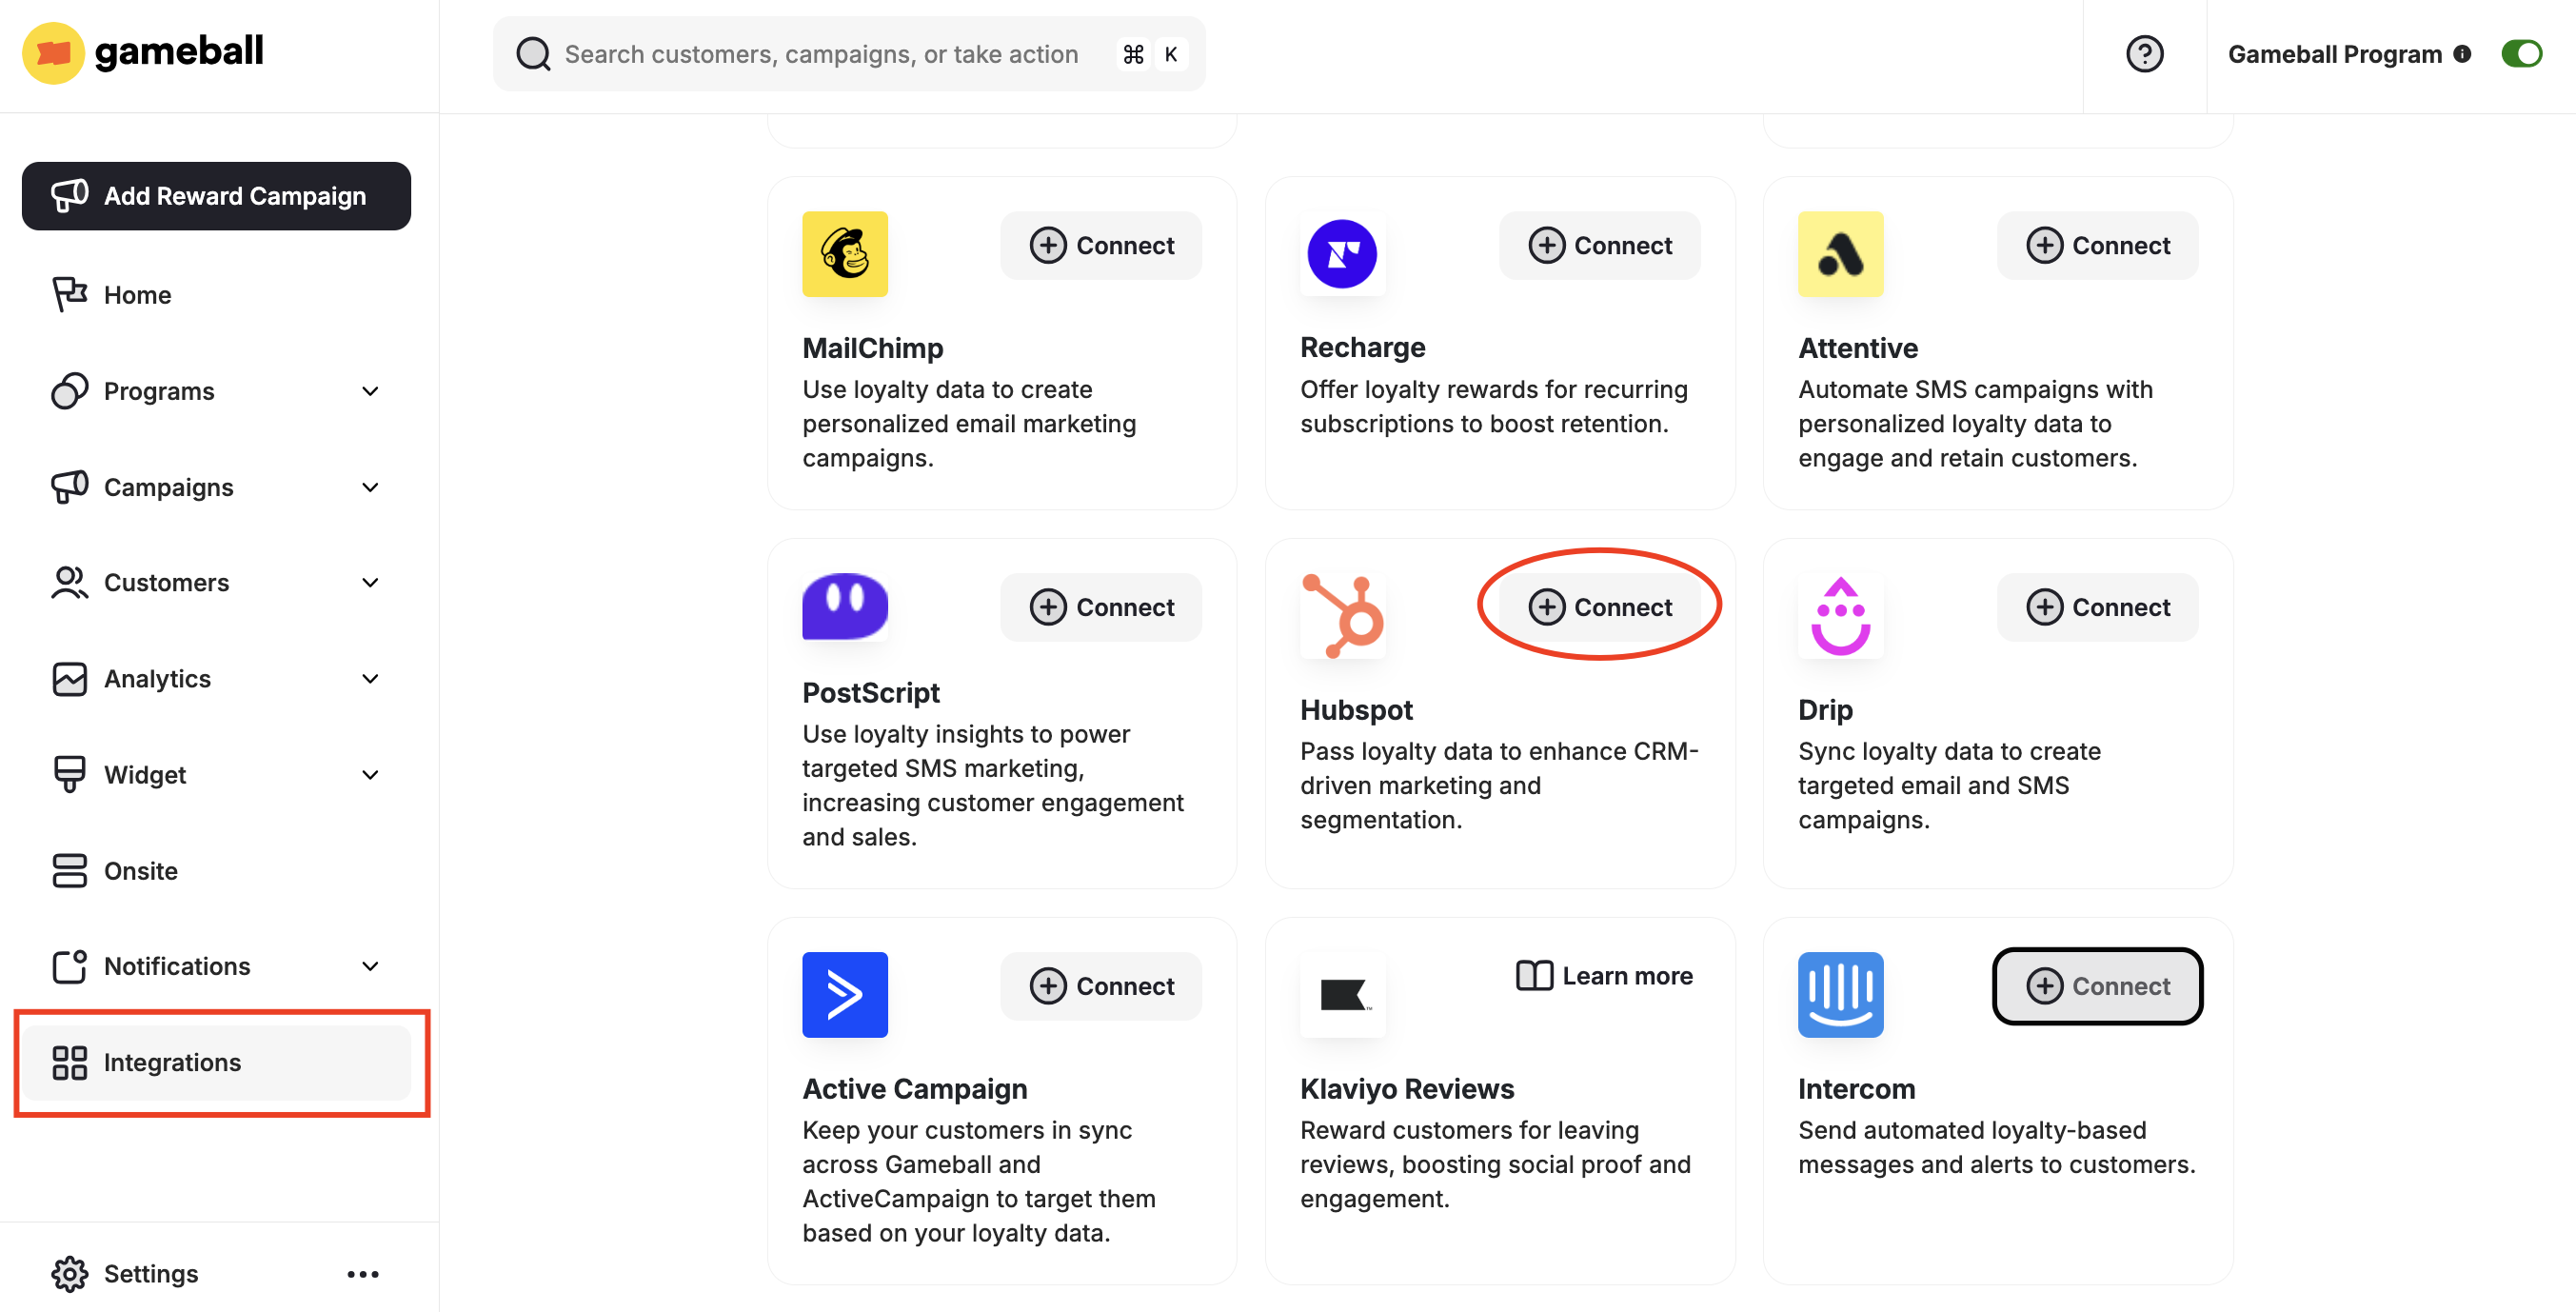
Go to **Integrations** on your **Gameball Admin Dashboard** and click **Connect** under **HubSpot**.
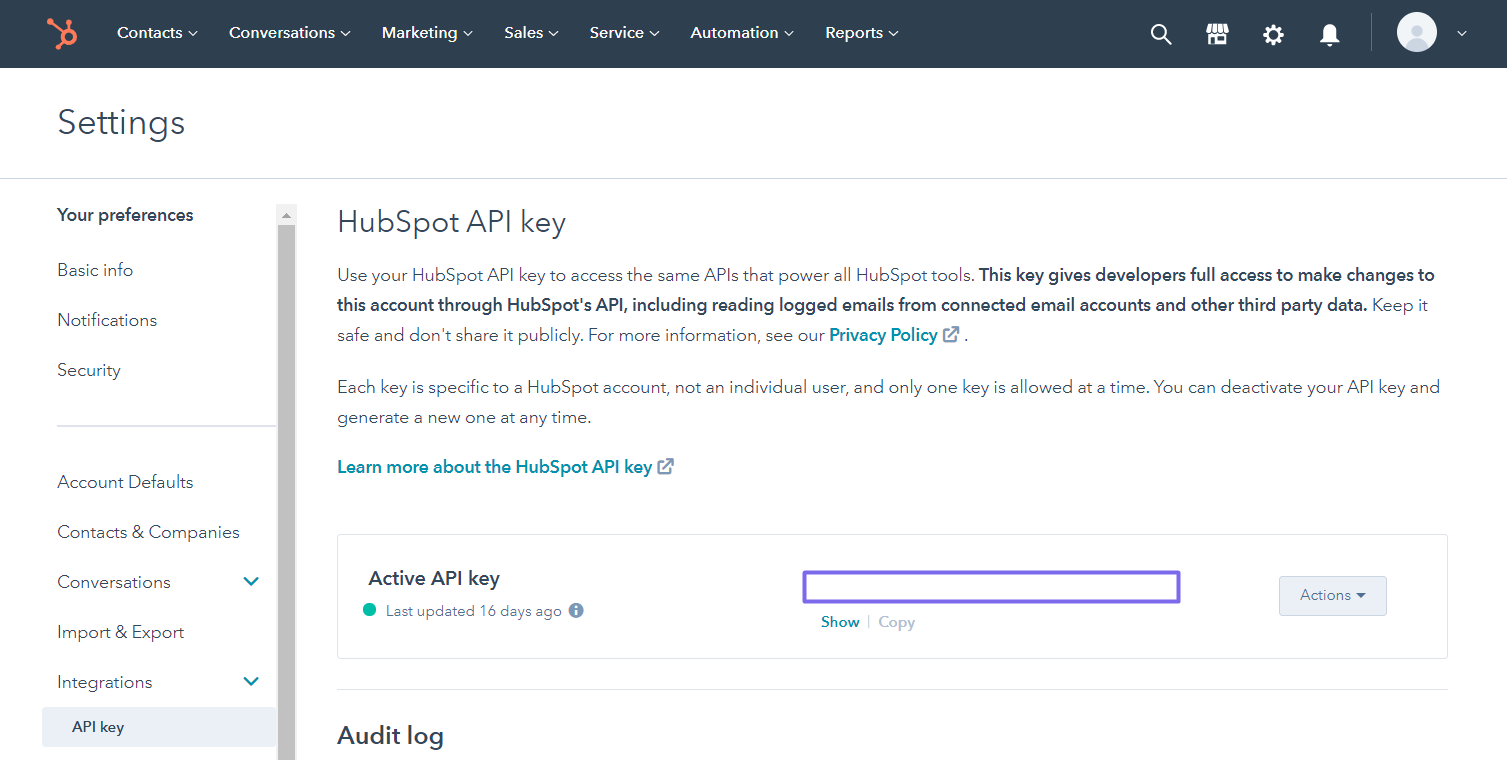
 1. Install HubSpot from the Shopify App Store.
2. In your HubSpot account, go to **Settings > Integrations**.
3. Copy the **API token**.
1. Install HubSpot from the Shopify App Store.
2. In your HubSpot account, go to **Settings > Integrations**.
3. Copy the **API token**.
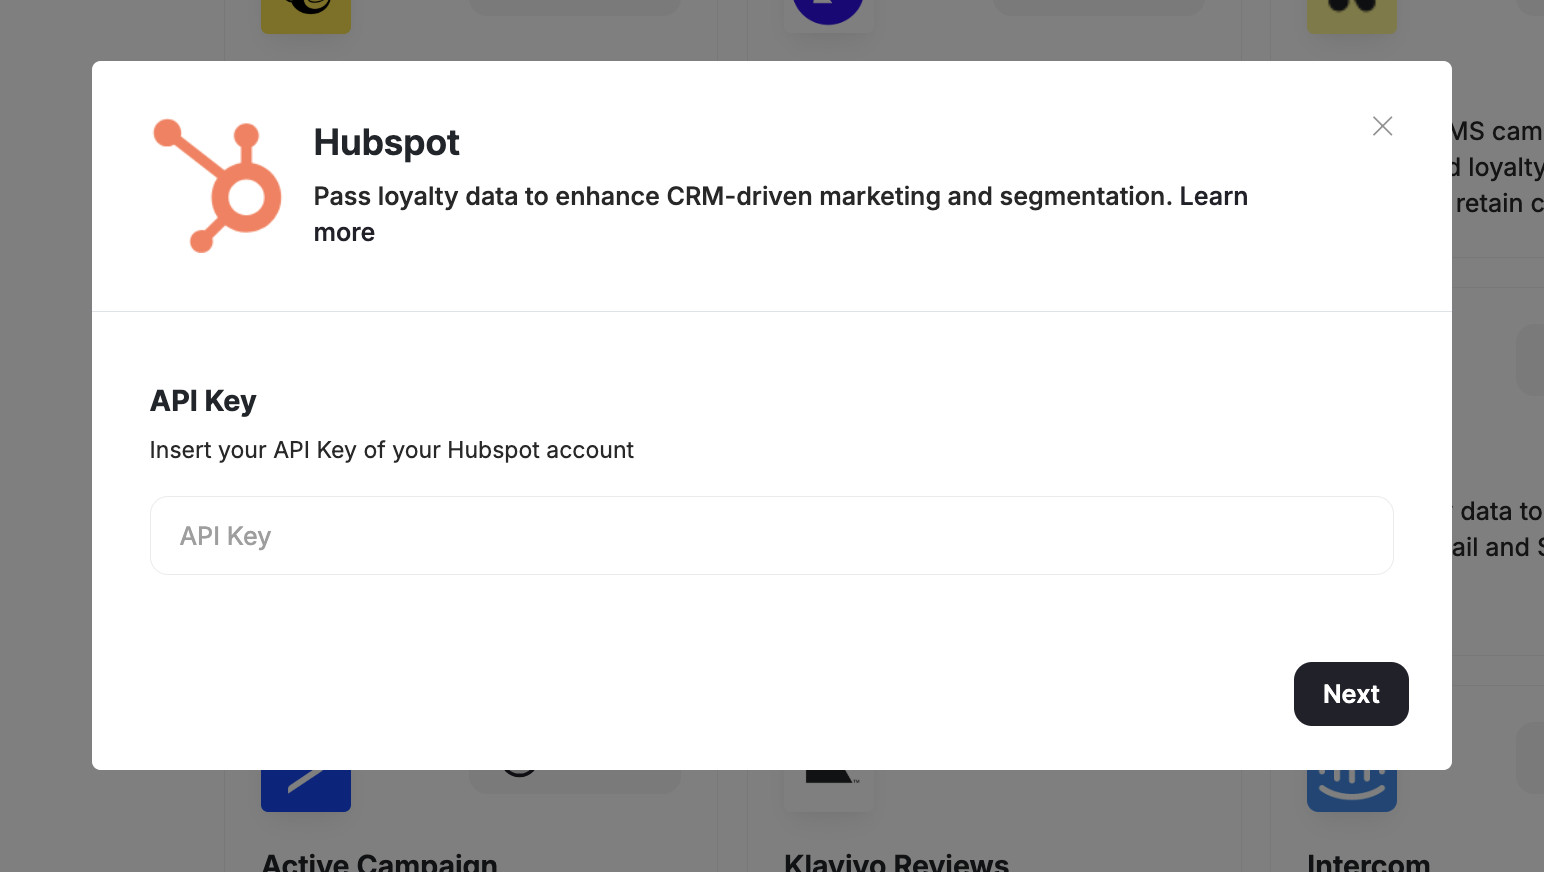
 Paste the API token on your Gameball Admin Dashboard and click **Next**.
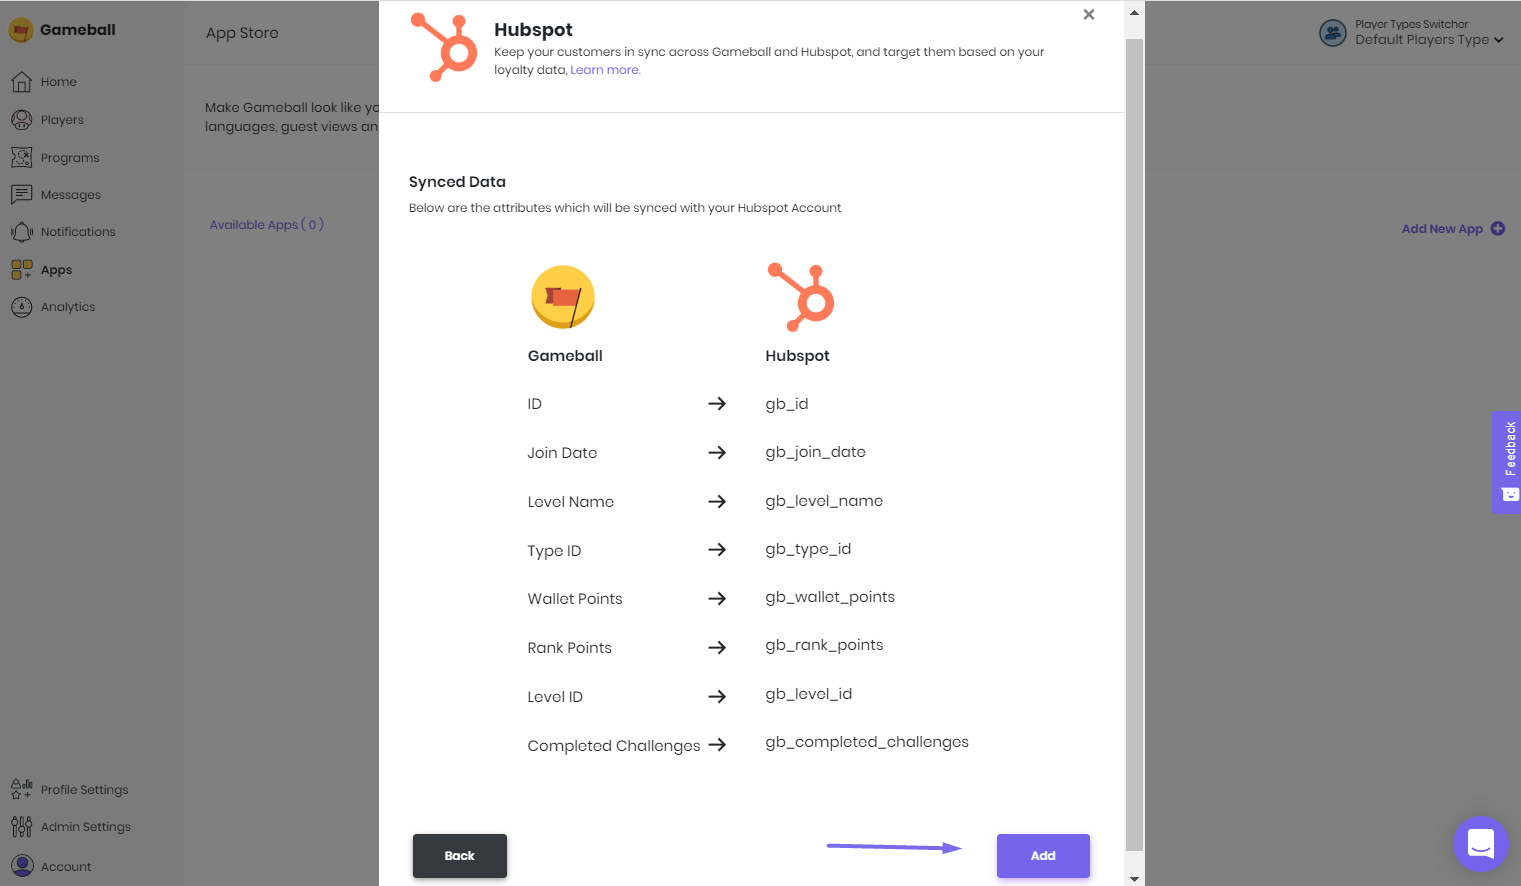
 Click **Add** so the list of customer attributes will be automatically added to your HubSpot account.
Make sure you use these attributes with the notation provided on your Gameball Admin Dashboard, as described below.
Click **Add** so the list of customer attributes will be automatically added to your HubSpot account.
Make sure you use these attributes with the notation provided on your Gameball Admin Dashboard, as described below.
 ***
## Using Gameball Data in HubSpot
### Check Customer Attributes
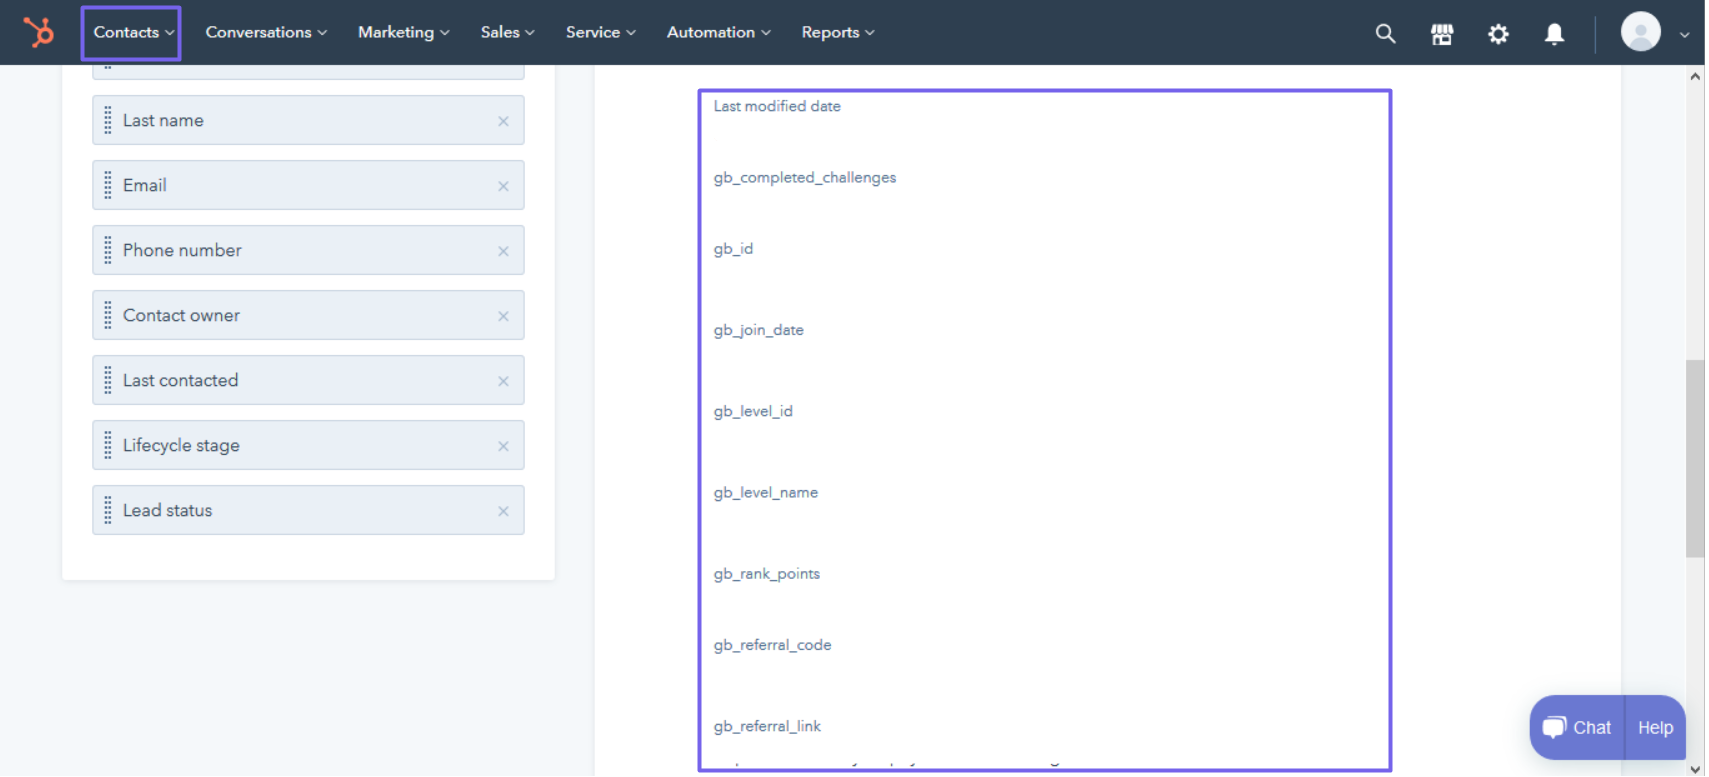
Go to **Contacts > Select a specific contact** to view the custom attributes.
***
## Using Gameball Data in HubSpot
### Check Customer Attributes
Go to **Contacts > Select a specific contact** to view the custom attributes.
 ### Trigger Workflows
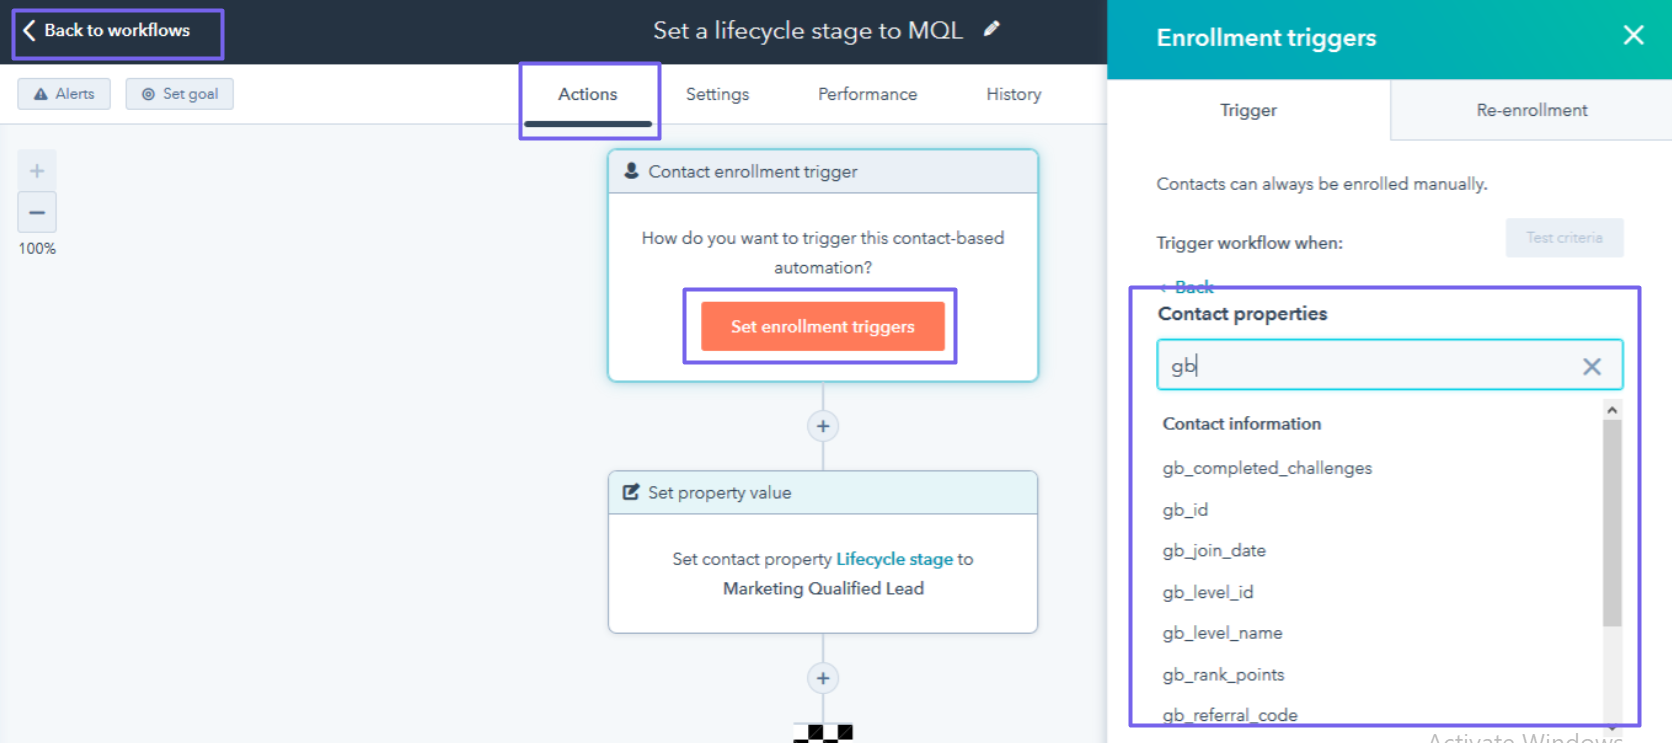
Go to **Automation > Workflows > Actions > Set Enrollment Trigger > Contact Properties** to trigger a workflow based on a Gameball customer attribute.
### Trigger Workflows
Go to **Automation > Workflows > Actions > Set Enrollment Trigger > Contact Properties** to trigger a workflow based on a Gameball customer attribute.