> ## Documentation Index
> Fetch the complete documentation index at: https://docs.gameball.co/llms.txt
> Use this file to discover all available pages before exploring further.
# What Is the Difference Between Test and Live Data?
> Test your designed experience through Gameball on your staging/UAT environment before rolling it out on production.
## Test Data vs. Live Data
These data are the ones used while you are testing your Gameball engagement experience before going live, mostly used by your team. Gameball will give you the ability to test the whole experience you designed on your staging/UAT environment. No need to care about deleting the test data that you have used during the integration cycle.
These data are the ones used once you start going live with Gameball on your platform, with the Gameball engagement experience exposed to your customers according to your configurations.
***
## How to Use the Test/Live Data
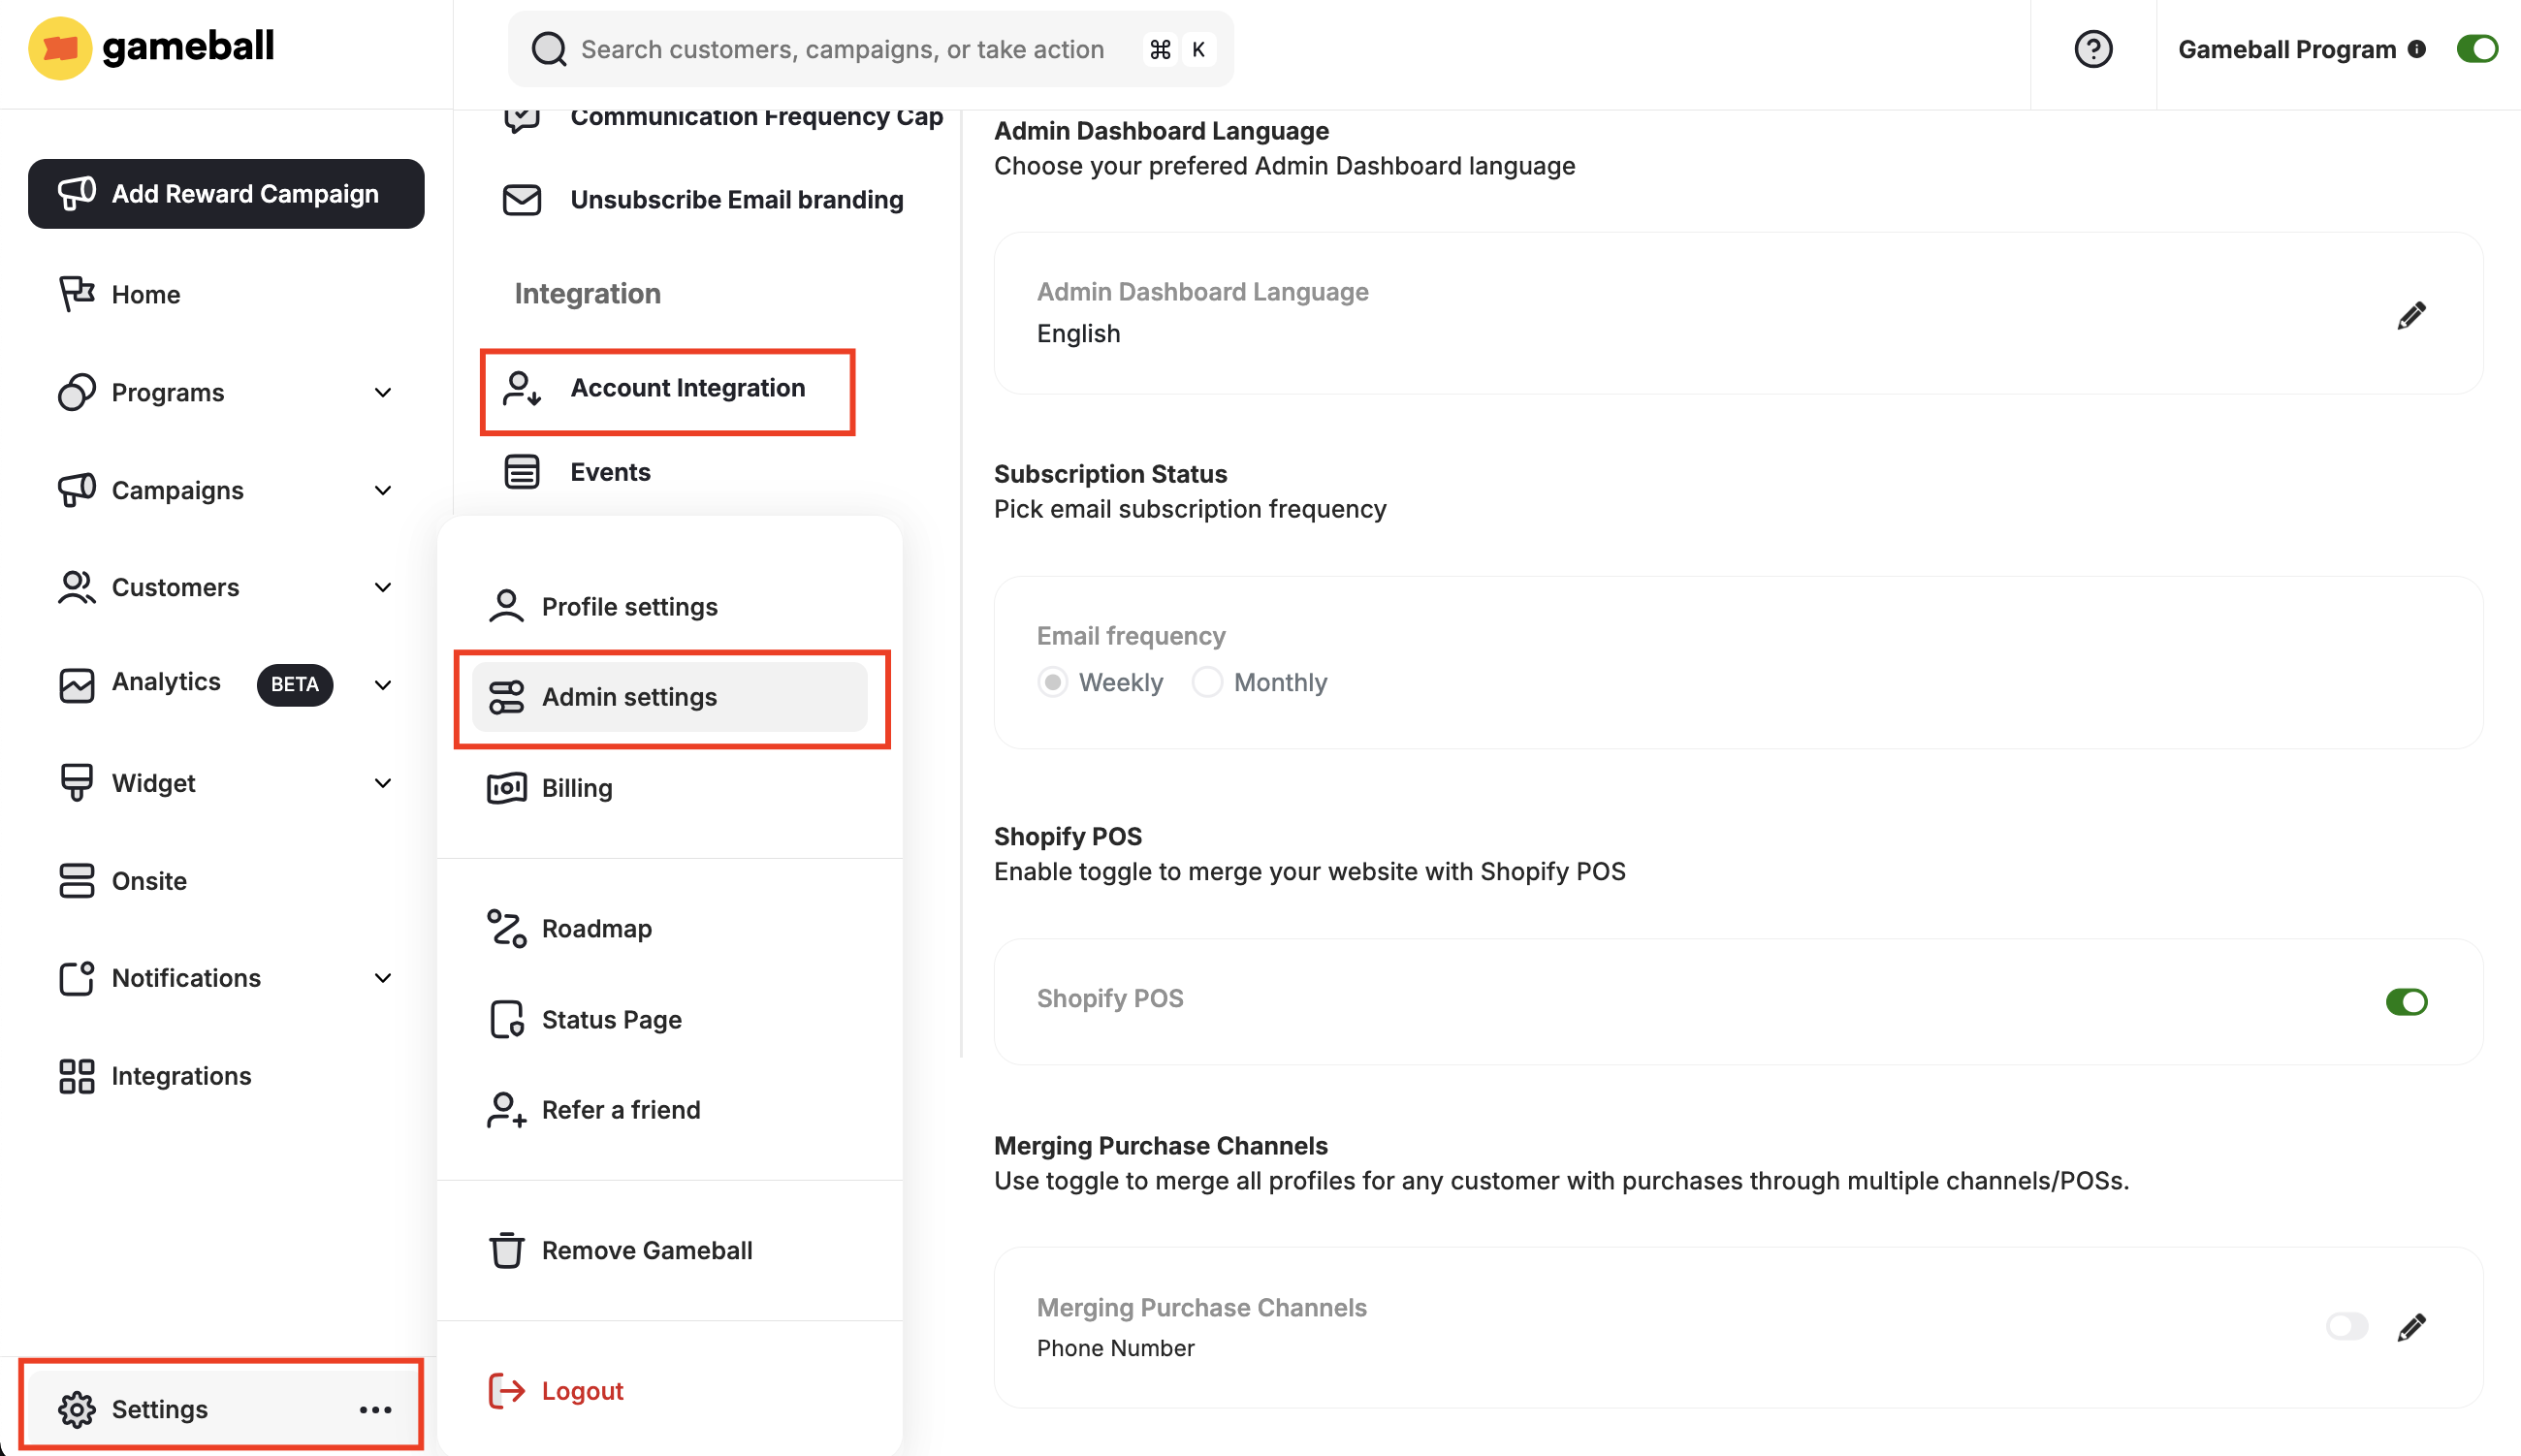
Your account will have 2 different **API Keys** — one for Test and the other for Live data. You can access your **API Keys** settings section in the Gameball Admin Dashboard through **Settings > Admin Settings > Account Integration**.
 You will find both your **Live API Key** and **Test API Key**.
Use **Test API Key** on your staging/UAT environment and **Live API Key** on your production environment.
***
## Test/Live Data Dependency
Your designed and configured experience will be the same using both API Keys (tiers, campaigns, etc). The only difference will be with the below:
| Affected Area | Notes |
| --------------------------------- | -------------------------------------------- |
| Analytics section | Tracked separately per environment |
| Customers list | Separate customer records per environment |
| Customers' Game Plan Achievements | Independent per environment |
| Customer Points Transactions | Separate transaction history per environment |
***
## How to Switch Between Test and Live Data on the Dashboard
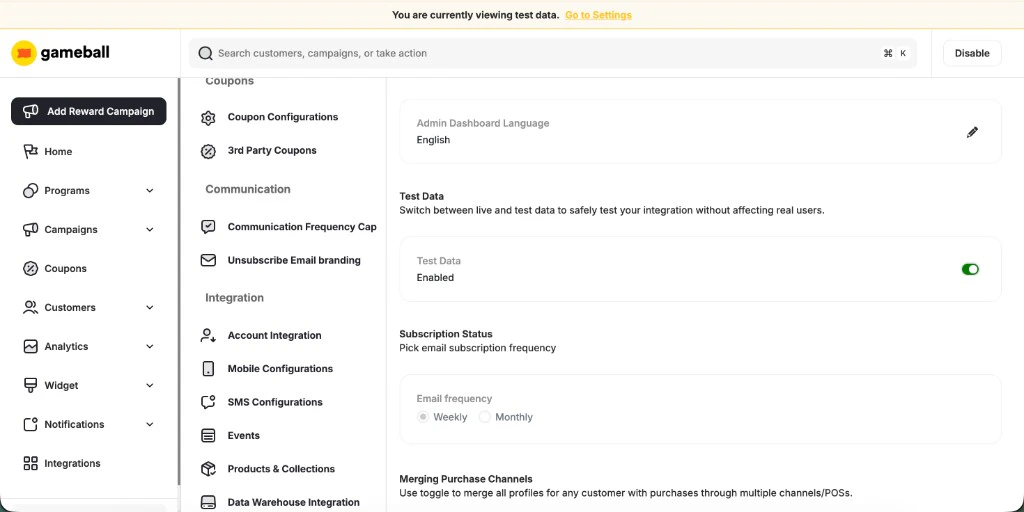
You can switch between live and test data from the **Admin Settings** in your Gameball Dashboard.
Navigate to **Settings → Admin Settings** and stay on the **General** tab.
Scroll to the **Test Data** section and click the toggle to switch modes.
You will find both your **Live API Key** and **Test API Key**.
Use **Test API Key** on your staging/UAT environment and **Live API Key** on your production environment.
***
## Test/Live Data Dependency
Your designed and configured experience will be the same using both API Keys (tiers, campaigns, etc). The only difference will be with the below:
| Affected Area | Notes |
| --------------------------------- | -------------------------------------------- |
| Analytics section | Tracked separately per environment |
| Customers list | Separate customer records per environment |
| Customers' Game Plan Achievements | Independent per environment |
| Customer Points Transactions | Separate transaction history per environment |
***
## How to Switch Between Test and Live Data on the Dashboard
You can switch between live and test data from the **Admin Settings** in your Gameball Dashboard.
Navigate to **Settings → Admin Settings** and stay on the **General** tab.
Scroll to the **Test Data** section and click the toggle to switch modes.
 A **Data View** confirmation pop-up appears with a dropdown. Select either **Live Data** or **Test Data**, then click **Save**.
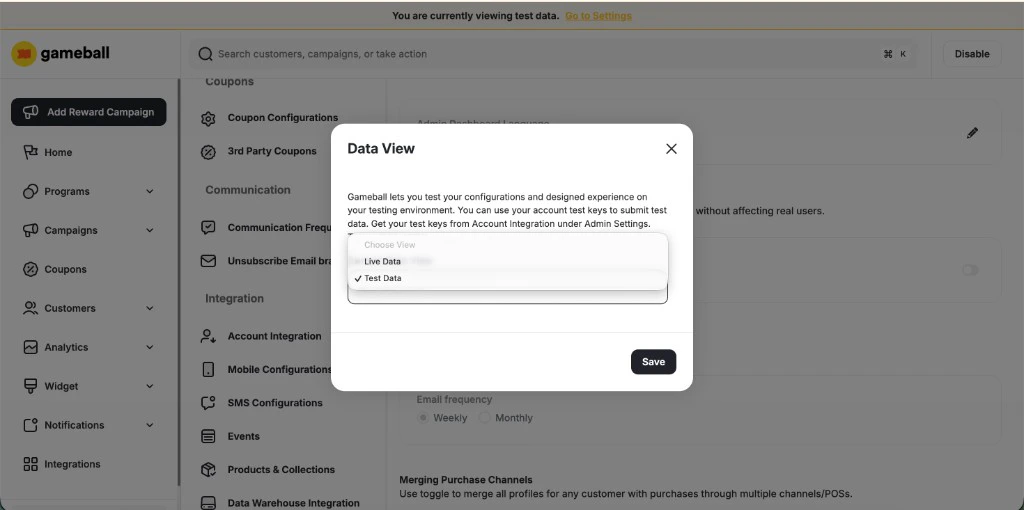 While **Test Data** mode is active, a yellow banner appears at the top of every dashboard page indicating that you are currently viewing test data. Click the **Go to Settings** link in the banner to jump straight back to the Test Data toggle and switch modes whenever you need.
***
## Related Articles
Publish the Gameball experience and widget on your Shopify store.
Introduction to Gameball Analytics.
While **Test Data** mode is active, a yellow banner appears at the top of every dashboard page indicating that you are currently viewing test data. Click the **Go to Settings** link in the banner to jump straight back to the Test Data toggle and switch modes whenever you need.
***
## Related Articles
Publish the Gameball experience and widget on your Shopify store.
Introduction to Gameball Analytics.